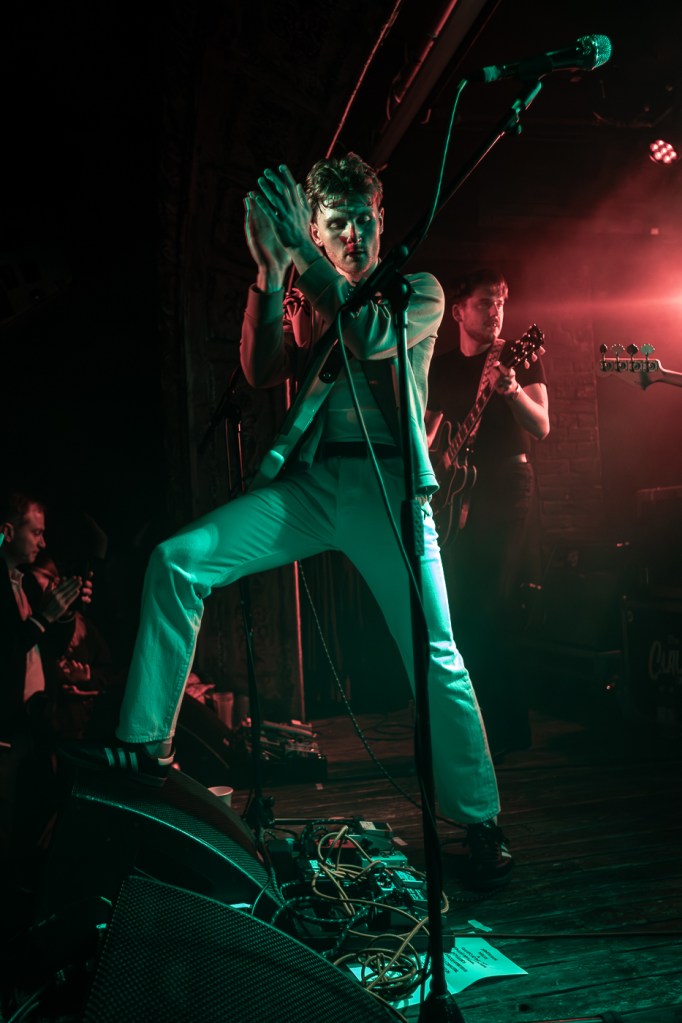
features, Uncategorized THE CLAUSE – OMERA LONDON – 22/11/24 Date: Nov 25, 2024Author: The Songbird HQ Photo Gallery all photos by Gary Walker (@thisisgary.photography) Share this:ShareTweet Email a link to a friend (Opens in new window) Email Related